


Materials List:
Plastic 20oz bottle with a smooth middle section
Sharpie or permanent markers
Sharp Scissors
Ribbon, yarn, or white gauze
White or clear tape
Misc. embellishing objects such as beads to sew on or grommets, studs, eyelets, etc.
ink pads
Microwave (...I know, right?)


Sharpie or permanent markers
Sharp Scissors
Ribbon, yarn, or white gauze
White or clear tape
Misc. embellishing objects such as beads to sew on or grommets, studs, eyelets, etc.
ink pads
Microwave (...I know, right?)

Cut the top and bottom off of the soda bottle leaving just the smooth middle section. An easy way to get started is the pinch one spot together like you're folding paper in half and start the cut. Insert one blade of the scissors through the hole and cut along the line in the plastic.

Peel off as much of the label as you can. If you are planning on covering your cuff with ribbon, yarn, or any other material, this part doesn't matter too much. If you are planning on doing the mock stained glass design, it is pretty important to get almost all of the label off.

Cut the tube into the widths of your desired cuffs. Depending on the style of the bottle, you should be able to get at least two cuffs out of the tube. I cut three, but would have been able to cut four if I would have made them smaller.
Cut through the cuff to open it and round the edges like shown. If you have a smaller wrist, you may want to cut a small section out of the cuff to make sure the sides don't overlap on your wrist. If you are wrapping something around the cuff, make sure you leave it a little longer because the material around the cuff will make it fit a little tighter on your wrist.

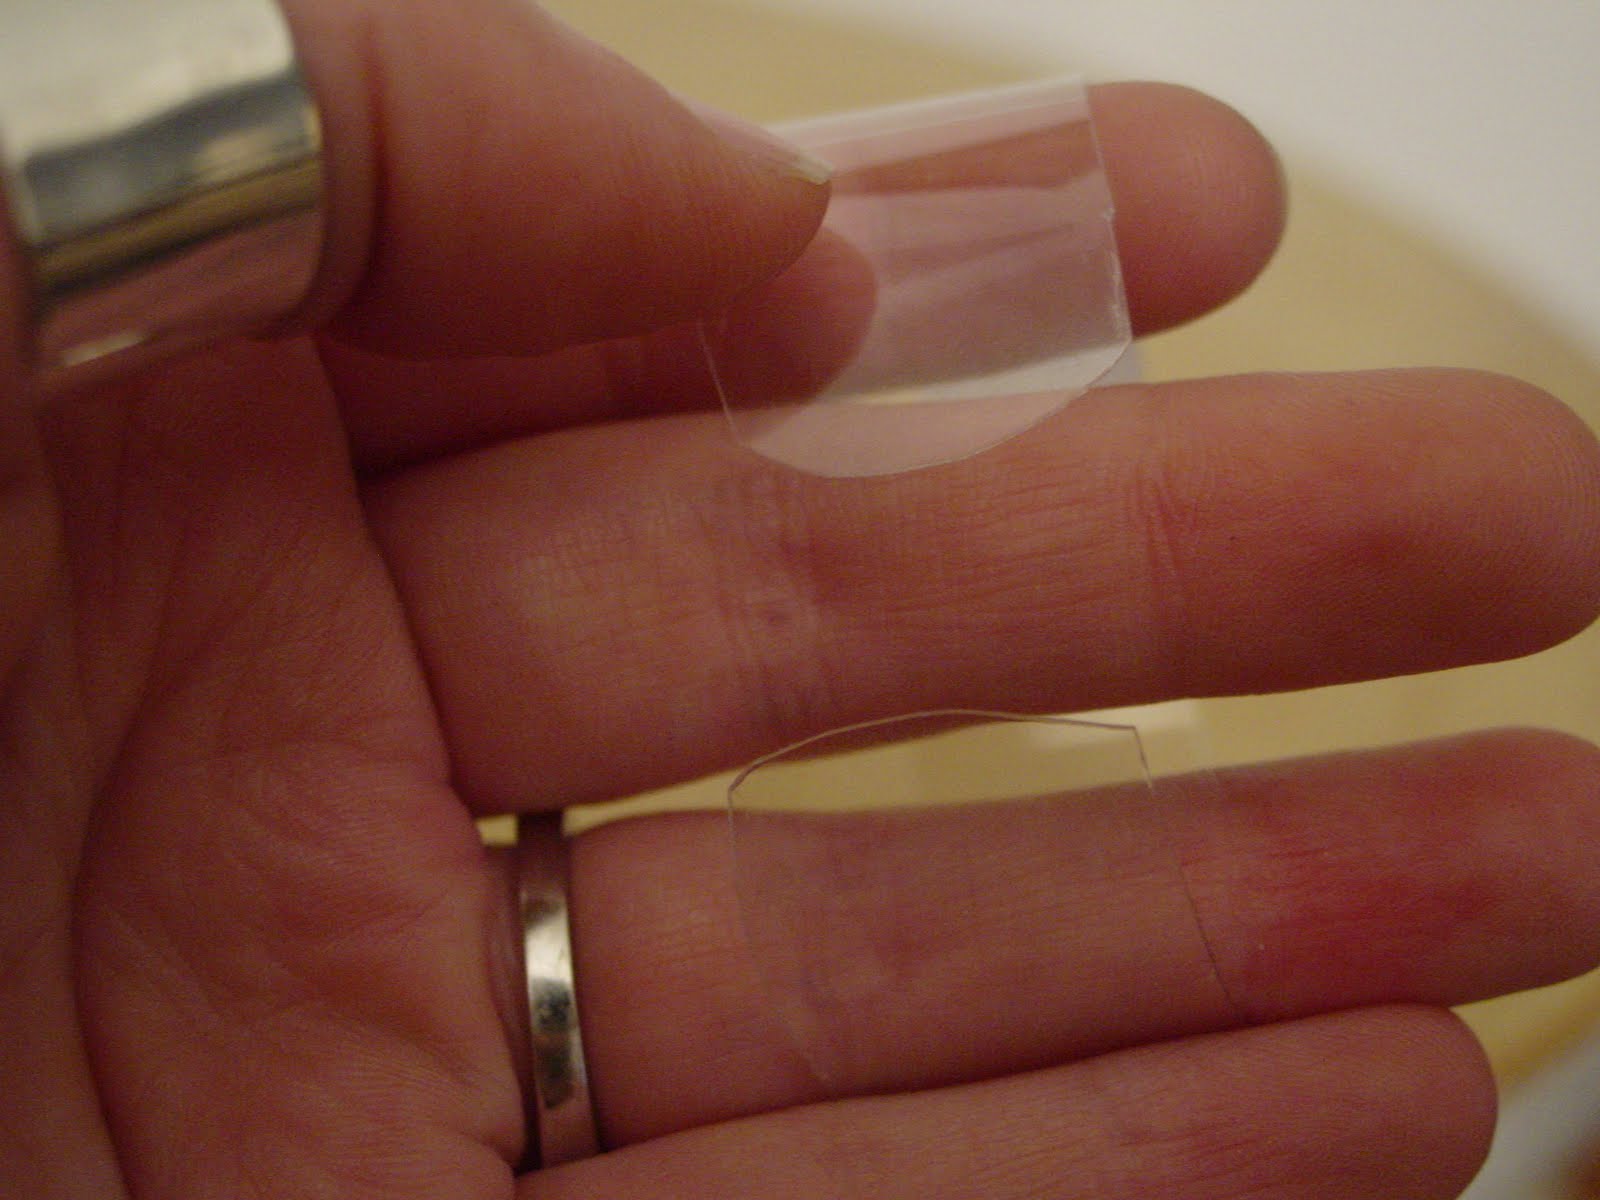
If you are wrapping ribbon or yarn around the cuff, start with a little bit of tape and tightly spiral your material around the cuff. Don't wrap too tight otherwise your cuff will become warped and may not stay curved around your wrist. Don't wrap all the way to the ends because the loops would slip off of the rounded edge

Knot the tail end of the ribbon securely to the underside of the cuff and then cut the tail end off.
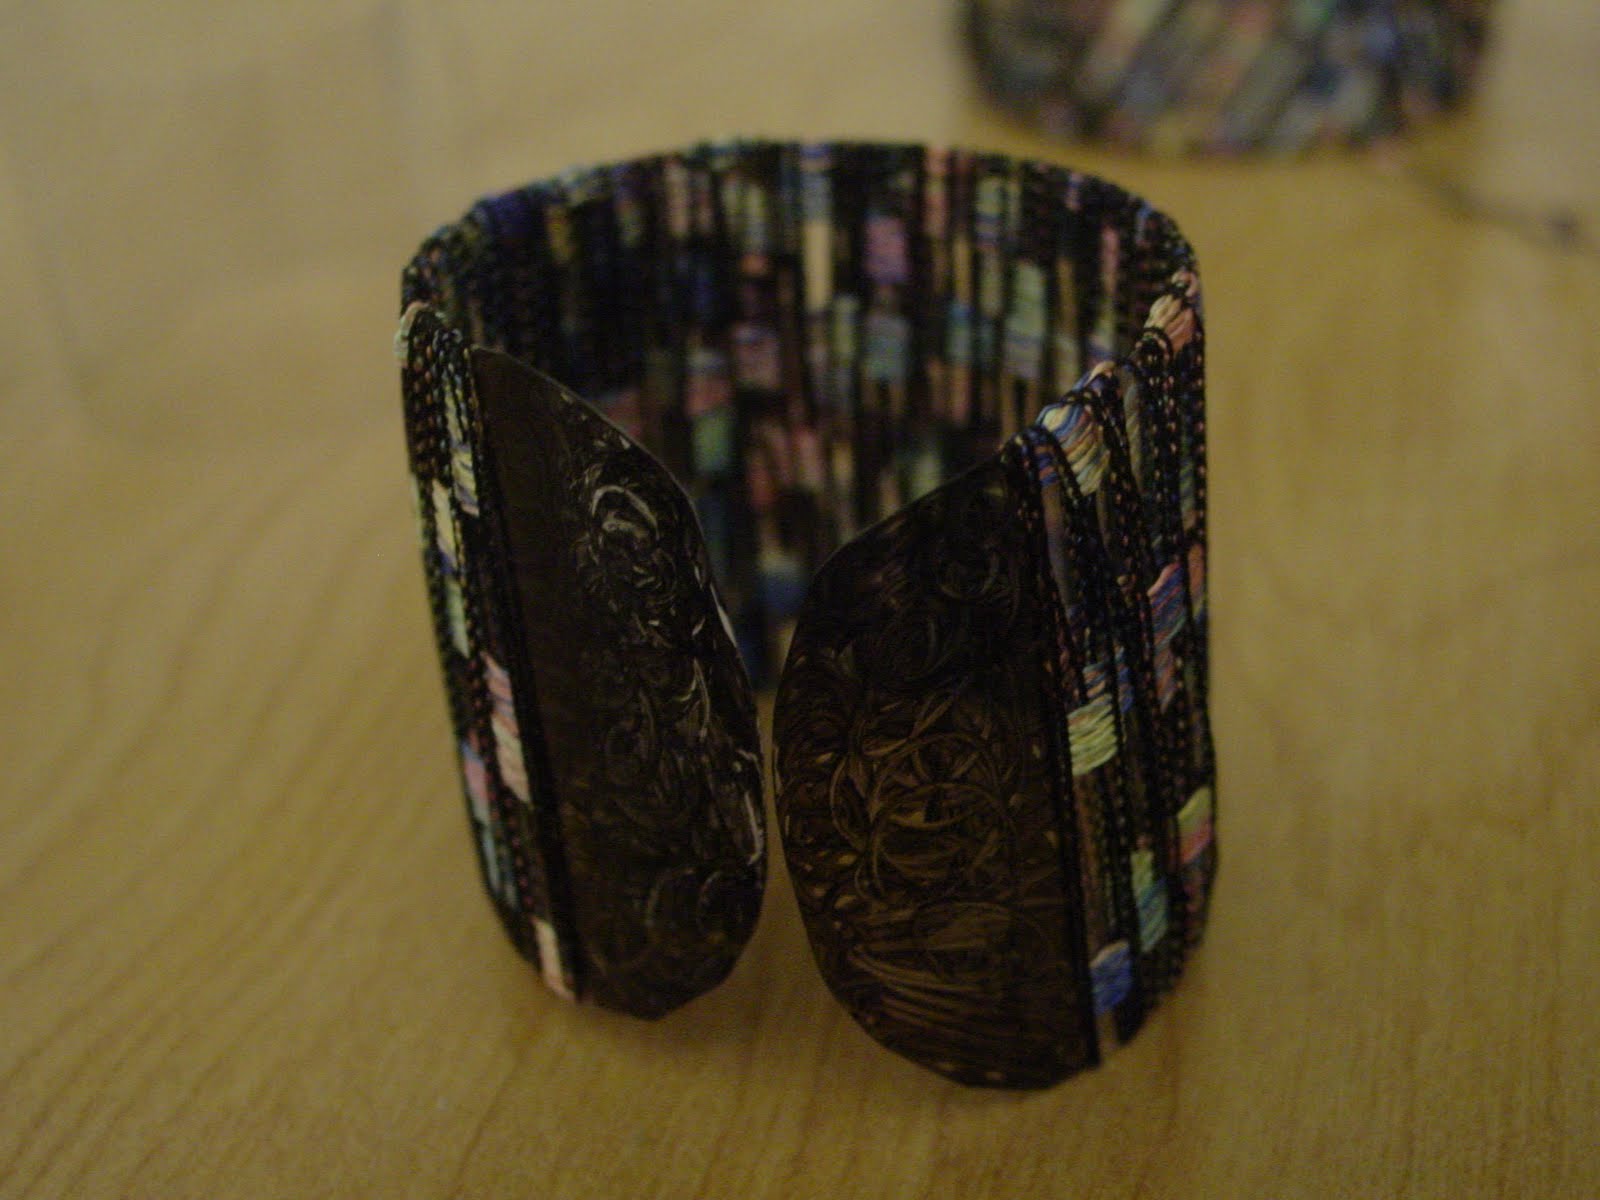
You could leave the ends clear, or color them with a permanent marker that matches your color scheme. If you color them, pop the whole cuff in the microwave for about 2 minutes (depending on your microwave strength) to set the color into the plastic so it won't wear or scratch off.

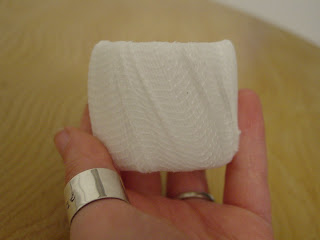
If you have another cuff to work with, or if the first option isn't your style, try this easy and fun cuff. Tape one end of a roll of white gauze to the underside of your cuff. Wrap longways around the cuff first to make sure the sides get covered, then wrap from top to bottom until the cuff has been covered in several layers.


Thanks for checking out my Free Sunday Demo! Subscribe and leave a comment telling (or showing) me what you did with your soda bottle cuff!
Check back every Sunday for more awesome tutorials!
P.S.
While making these cuffs, little Sara became very interested in bracelets. She especially liked the ribbon yarn used in the first cuff. She wanted to make a bracelet, too. :) We decided to make a Dora the Explorer style bracelet with a big flower in the middle. Here is a picture of Sara with her bracelet.


She also kind of confiscated the stained glass bracelet from me as well... Get 'em while they're young. :)
www.abbiberta.webs.com
I like the green Earthy-looking gauze bracelet. Cool idea.
ReplyDelete